How Japanese Cloisonné Is Made: The Full Process from Copper Sheet to Polished Surface
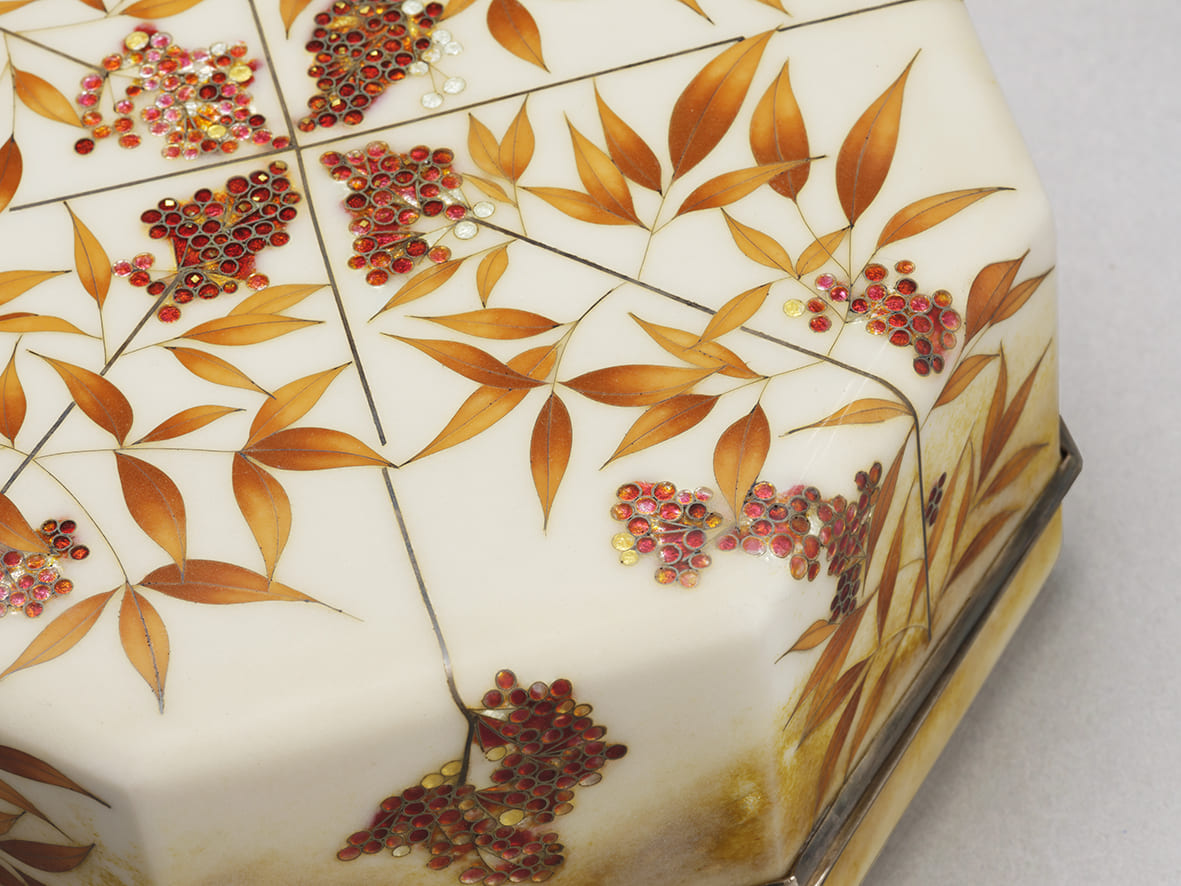
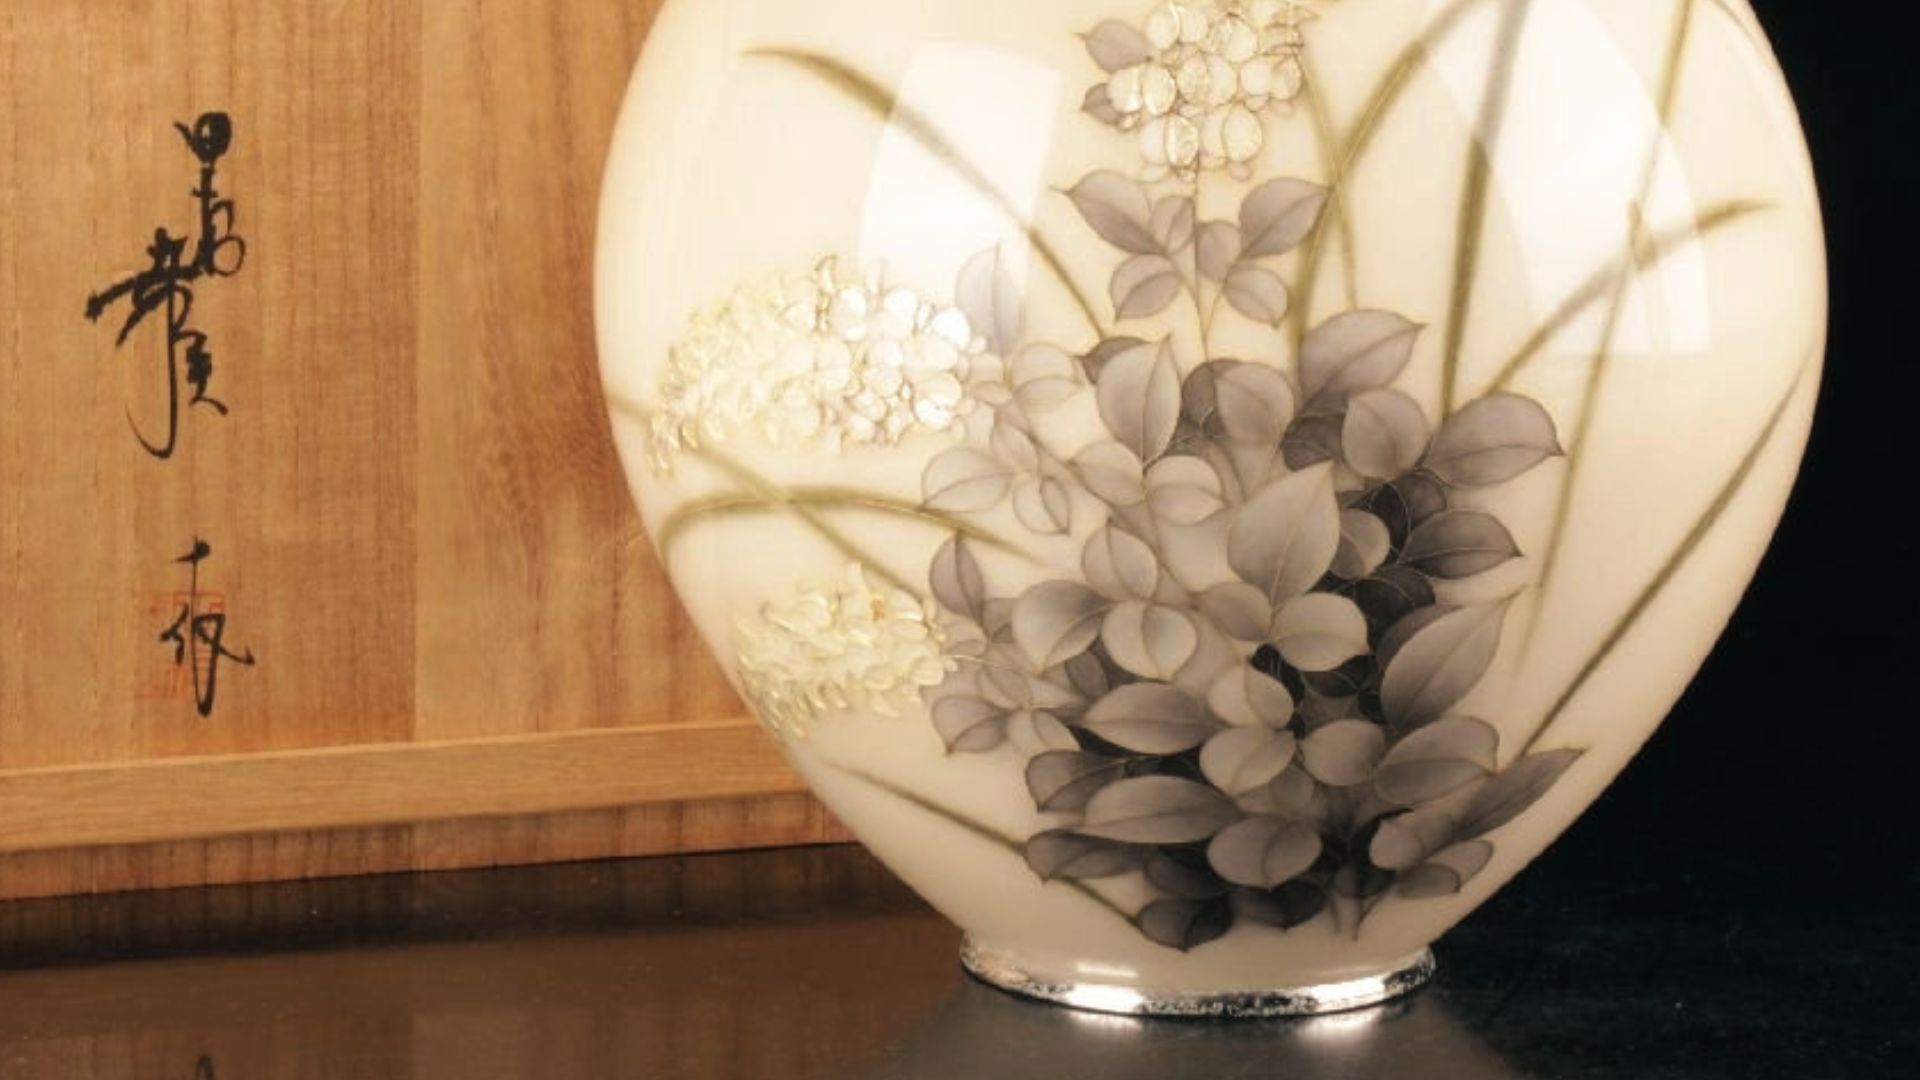
Japanese cloisonné looks like a painted surface and is nothing of the kind. Every colour on the piece began as powdered glass, and every line between colours is a strip of silver bent by hand.
The process is not complicated to describe. It is difficult to execute, and the difficulty is concentrated in two stages that a buyer can learn to inspect.
This guide walks through the whole sequence as it is carried out in our workshop in Aichi, and explains why each stage is done the way it is.
How Japanese Cloisonné Is Made: The Process in Outline
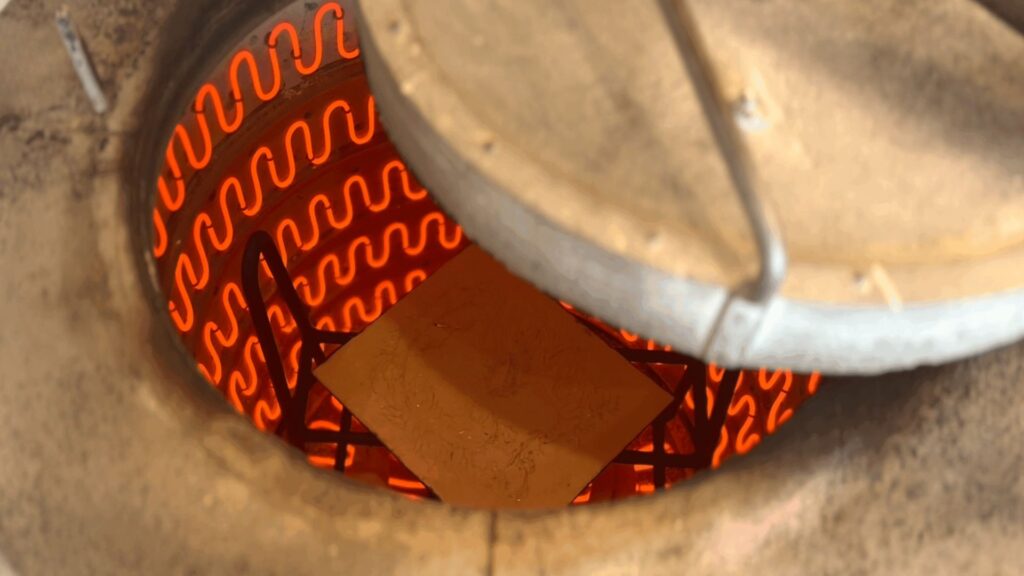
Japanese cloisonné, shippō-yaki, is made by fusing powdered glass onto a metal base through repeated firings at around 800°C, with the design outlined in fine metal wire set upright on the surface.
The stages
- Forming the metal base
- Drawing the design
- Setting the wires
- Firing to fix the wires
- Applying the glaze
- Firing
- Repeating glaze and firing until the surface builds up
- Grinding and polishing
The two stages where skill is most visible in the finished object are wire setting and final polishing. Everything else is demanding but less exposed.
Time varies enormously with size and complexity. A mid-size vase can take weeks.
Stage One: Forming the Metal Base
Japanese cloisonné begins with metal, not with decoration. The body exists in full before any colour is considered.
The materials
- Copper — the standard base. Workable, takes enamel well, and expands at a rate compatible with the glaze
- Silver — used where transparent glaze needs a bright, reflective ground beneath it
- Gold — historically used for the finest work
The sheet is raised, spun or otherwise formed into a vase, plate, pendant or panel.
Why the base metal matters more than it appears to
Metal and glass expand and contract at different rates when heated and cooled, so the pairing has to be compatible or the enamel will crack. This is a constraint on the whole craft, and it is why copper became the standard rather than a more decorative metal.
The gauge of the metal matters too: too thin and the piece distorts in the kiln, too thick and it becomes unnecessarily heavy.
Stage Two and Three: Drawing and Setting the Wires
This is where the character of the finished piece is largely determined.
Drawing
The design is drawn directly onto the metal in sumi ink. The drawing is a guide for wire placement rather than a decorative layer — none of it survives the first firing.
Wire setting (shokusen)
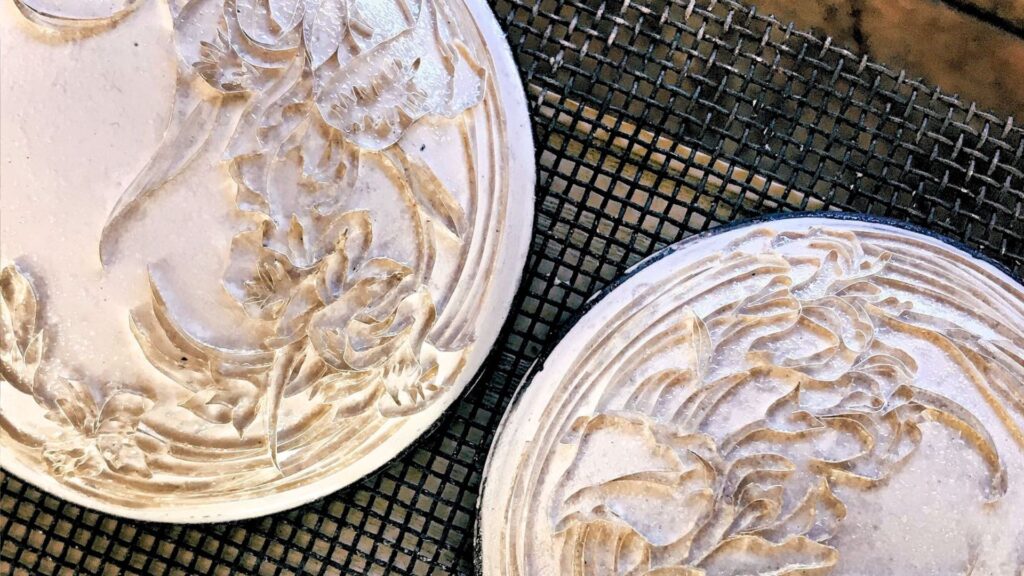
Flat silver ribbon wire is bent by hand into the shape of each line in the design, then glued upright on the surface so that it stands on edge rather than lying flat.
- The wire is bent with fine tweezers, one segment at a time
- Every closed shape in the design becomes a compartment
- The wire must stand perpendicular to the surface, or the finished line will read as uneven
- Curves are formed continuously; sharp corners require the wire to be bent at acute angles and are harder to execute cleanly
This is the stage that determines what the design can be. A motif with long unbroken curves — a crane’s neck, a wave, a vine — suits the technique. A motif full of sharp corners fights it.
What to look for as a buyer
Find the tightest curve in the design and examine the line there. Even width and clean contact with the glaze on both sides indicate careful work.
Stage Four and Five: Fixing the Wires and Applying Glaze
Fixing the wires
A firing bonds the wires permanently to the body. Until this point the wires are held only by adhesive and the whole arrangement is fragile.
The glaze
Cloisonné glaze is powdered glass, coloured by metal oxides, mixed with water into a paste. It comes in transparent and opaque varieties, and the choice between them shapes the entire appearance of a piece.
- Transparent glaze allows the metal beneath to show through, so colour shifts with the angle of light
- Opaque glaze produces flat, fixed colour
Historical note: before the Meiji period, Japanese enamel was predominantly opaque doro shippō. The development of high-clarity transparent glaze — work in which the German scientist Gottfried Wagener (1830–1892) played a part — is what made the luminous depth of Meiji-era cloisonné possible.
Applying it
The paste is placed into each compartment with a fine spatula, one colour at a time. The work is done wet, compartment by compartment, and a large piece can contain many hundreds of individual cells.
Stage Six and Seven: Firing and Building Up
This is the stage most often misunderstood.
The firing
The piece is fired at around 800°C. The powdered glass melts, flows into the compartment, and bonds to the metal.
The temperature is dictated by the base metal. Copper melts at about 1,085°C, so the craft operates in the band where glass flows and the metal holds its shape. This is a narrow range to work in, and it is why enamel cannot simply be fired hotter to speed things up.
Why one firing is never enough
Glaze contracts as it cools, so a single application always finishes below the level of the wires. Glazing and firing are therefore repeated until the surface stands level with the wire tops.
How many times depends entirely on the piece — its size, its colours, and the depth being aimed for. There is no set number, and any source that gives one is describing a particular type of work rather than a rule.
Depth of colour is built through this layering rather than applied in one pass, which is the underlying reason the craft is slow.
What can go wrong
- Cracking — from incompatible expansion rates or uneven cooling
- Distortion — a thin body warping in the kiln
- Bubbles and pinholes — trapped air or impurities escaping during firing
- Colour change — some glazes shift with over-firing
A failure at the eighth firing costs everything invested in the first seven, which is a significant part of why the craft is expensive.
Stage Eight: Grinding and Polishing
The final stage, and one that has no equivalent in most ceramic work.
What happens
The fired surface is uneven and stands slightly proud in places, so it is ground flat with whetstones of progressively finer grit, then polished by hand.
- Coarse grinding brings the surface down to the level of the wire tops
- Progressive finer stages remove the marks left by the previous one
- Final polishing produces the finished surface
The judgement involved
Grinding too far cuts through the glaze into the wire or the metal beneath, and the damage cannot be undone. Stopping too early leaves an uneven surface.
The degree of final gloss is also a deliberate choice. A high-gloss finish reads across a room; a softer finish shows its colour only at close range as the light moves. Neither is correct in the abstract — they suit different pieces.
What to look for as a buyer
Hold the piece so light rakes across the surface at a low angle. A well-finished piece is genuinely flat, with the glaze level with the wires rather than dipping between them.
How Japanese Cloisonné Is Made: Variations on the Standard Process
Several established techniques modify the sequence above.
| Technique | Japanese | What changes |
|---|---|---|
| Wireless | Musen shippō | Wires removed before final firing, so colours blend |
| Base removed | Shōtai shippō | Copper base dissolved with acid after firing, leaving translucent enamel |
| Pierced base | Tōtai shippō | Parts of the base cut away and filled with transparent glaze |
| Foil-backed | Ginbari | Transparent glaze over textured silver foil |
| Recessed base | Zōgan shippō | Cavities cut into the metal instead of wires added |
| Segmented construction | Jigsaw shippō | Large works built from separately fired sections joined afterward |
Why segmented construction exists
Large enamel pieces carry a higher risk of warping and cracking, because a bigger body heats and cools less evenly. Building a large work from separately fired sections is a practical response to that constraint rather than a decorative choice.
Wireless work and where its difficulty sits
In wired work the wire hides small imprecisions at the boundaries between colours. In wireless work there is nothing to hide behind, so the colour transitions themselves carry the quality. The two techniques are demanding in different places.
Understanding where the difficulty sits in each technique is the most useful thing a buyer can take from knowing the process: it tells you where on the object to look.

TAMURA-SHIPPO 田村七宝工芸
Founded in Meiji 16 (1883). We are a kiln located in Shippo-cho, Ama City, Aichi Prefecture, specializing in “Owari Shippo,” a traditional craft designated by the Ministry of Economy, Trade and Industry. We continue to produce Shippo ware in order to preserve this beautiful traditional culture. The content of this article has been fully supervised by Tamura Shippo Kogei (with AI-generated summaries included), and has been proofread with reference to reliable books and government media sources.